Last week I had the pleasure of being a Creative Scribe (aka illustrative scribe) at a meeting at Camberwell College of Arts.
Representatives from each of the colleges that form the University of Arts London gathered, all of them working with the colleges’ curation, galleries, conservation, archives, museums or special collections. The aim was to discuss ways for the amazing archives to interact and develop.
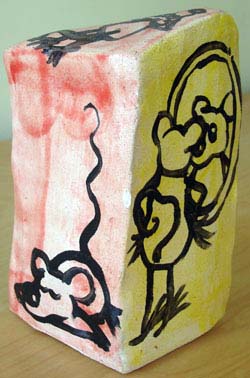
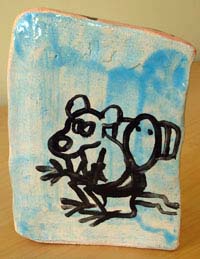
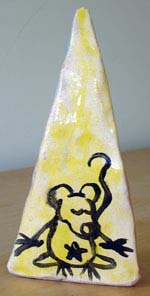
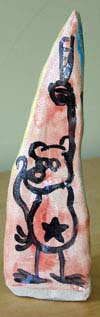
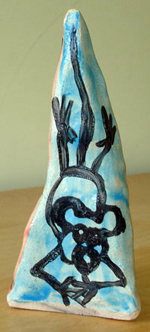
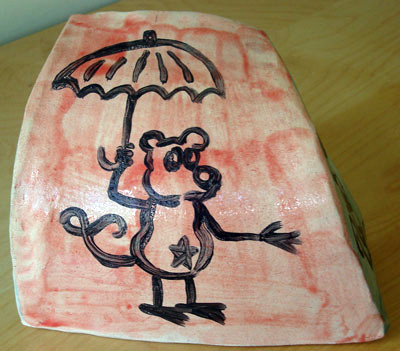
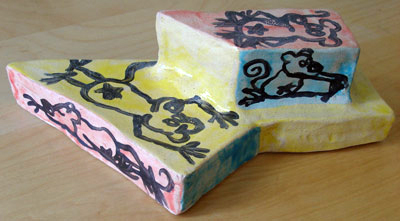
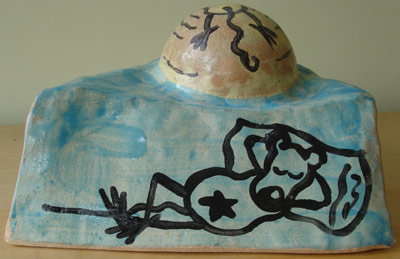
By chance, the meeting took place in a Lecture Theatre at the college where years ago I had a desk, doing my degree in Ceramics and had fun making three dimensional comics out of clay. Sad to see the Ceramics degree isn’t running there anymore, but nice to revisit the place.
Anyway, for those not familiar with creative scribing, it’s an enjoyable but sometimes terrifying challenge for an illustrator. The artist sits in on a meeting, event or series of talks. Armed with paper and pens (or some other mark making device) they visualise what is being discussed.
Often the work is then used as a discussion point at the end of the event. Sometimes it is taped to walls for viewing.
Here are some tips, on being a creative scribe for anyone into that kind of thing…
1. PREPARATION
As creative scribing is essentially live drawing and note taking in reaction to what is being said in the present, there’s little you can do in advance. No prep – woohoo!
Of course, making sure you know what the themes of the event/talk will be, should certainly give you a head start. A small amount of research if the themes are alien to you may be a good idea too, but you’re not being hired to be an expert in the field.
Make sure you’re well rested and feeling fresh before you head into the arena!

2. TOOLS OF THE TRADE
Sharpie Coloured Markers. You want to do your scrawling with something that is quick and clean to use. A range of different coloured markers works for me.
Uni Posca thick painty Markers. These are great for filling in paper with nice opaque blocks of colour.
Pencil Case (preferably with a Buffy or Wacky Races design). Keep yourself organised!
A2 Paper (thick enough to use markers on). It’s easier to stay on the same page and work outwards than to keep having to change sheets of paper. You’ll want to work big so that people clearly once the work is viewed/displayed.
Masking Tape. Sometimes the best place to work at an event is on a wall with the paper taped up.
Pencil and eraser. It’s extremely unlikely you’ll get the chance to pencil anything out before using the markers, but just in case.
Note paper. For scrawling quick notes of things you’ll want to draw later.
Tippex. Not something to rely on but you never know.
Mobile Phone/iPad/Dictionary. There may be moments while scribing where you desperately need to look up an image as a quick reference. How many eyes does a duck have? That sort of thing.
If you’re like me, there may also be spellings you need to check too. Worth remembering that you may not be able to get phone reception/wifi where you are. If your dictionary app relies on that, then a mini paper dictionary (remember them?) is just as good and fills you with waves of nostalgia too.
Water, healthy snacks/lunch – to keep the brain going. Maybe a Red Bull for emergency fuel towards the end of your session! Though officially I don’t endorse that as it’s not good for you. Delicious and refreshing though.

3. GET YOURSELF SORTED
Once you kick off, every second counts, so you need to be wasting as little time as possible.
Find yourself the best possible place to listen and draw first. If no table or desk is handy, taping paper to a wall or window is a decent easel.
Make sure you know where each colour of pen is. I divide mine into different compartments in my pencil case (hot colours on one side, colds on the other) or rest them in organised piles where you can grab them with no fuss.
If you’re working in paper from an A2 sketch book, tear out a few pages in advance so you can quickly move from one sheet to another.
This may all sound a bit OTT but you could find yourself drawing faster than you’ve ever needed to before so whatever helps!

4. WARM UP
Do a few easy drawings before you begin for real. The first drawing you do will probably not be your best, so good if this isn’t part of the work you’re going to display.
5. NO NEED TO PANIC
Even after doing warm up drawings the first drawing you do for realsies could still be something you want to burn, or launch into space or feed to a goat.
There’s no need to be a perfectionist – you don’t to get every detail that the speaker is talking about down on paper. Just key points, and things you find interesting to visualise. This is creative scribing not dictation, damn it!
No one assumes that the way you creative scribe is as good as you would draw given a proper amount of time.
Worse case scenario – if something a speaker says sounds like it’s pretty vital but you don’t hear it properly or understand it, you can always leave a bit of a space and go and ask them about it in a coffee break, then fill it in later. Most likely the speaker will not rush through the really important points though, so as long as you’re paying attention you should be fine!
 6. DON’T GET TECHNICAL
The speaker may be describing something which is way beyond your understanding. We can’t be artistic wonders and experts on everything else too!
The good news is you’re there to visualise ideas, not do blueprint drawings of stuff.
If someone if discussing the way a new piece of software improves performance on a super-computer. An image of a happy computer user can tell the story as well as a badly informed image of microchips, enhancing the circuit board thingy via a disk utilisation wotsit.
You get my point.
 7. STAY ESSENTIAL
Don’t feel you have to add detail to your drawings straight away. Get the essentials down first, then add extra colour/details later. This may mean when the speaker is saying less vital stuff, going over old ground, there’s a coffee break or the projector breaks down (always a godsend for a creative scriber).
8. STICK TO 3-4 COLOURS PER IMAGE
It saves so much time. I tend to switch colour scheme between image/talk/speaker. This helps to differentiate between them, and looks good when the pages are displayed altogether.
 Well there you go. Hope that’s helpful to some of you.
Now watch as Creative Scribing sweeps the nation…